Are unsightly mold patches on your roof causing you stress? You’ve landed in the right place! Understanding how to remove mold from roof surfaces can save your home from potential damage and restore its beauty.
Imagine a roof free of those dark, ugly stains, standing out in pristine condition. With our easy-to-follow tips and tricks, you’ll soon be equipped with all the knowledge you need.
Dive into this guide to discover practical, effective solutions that will leave your roof looking as good as new. Get ready to reclaim your home’s curb appeal and ensure its longevity. Let’s get started on making your roof mold-free!
How to Remove Mold from Roof? Use These 7 Useful Strategies
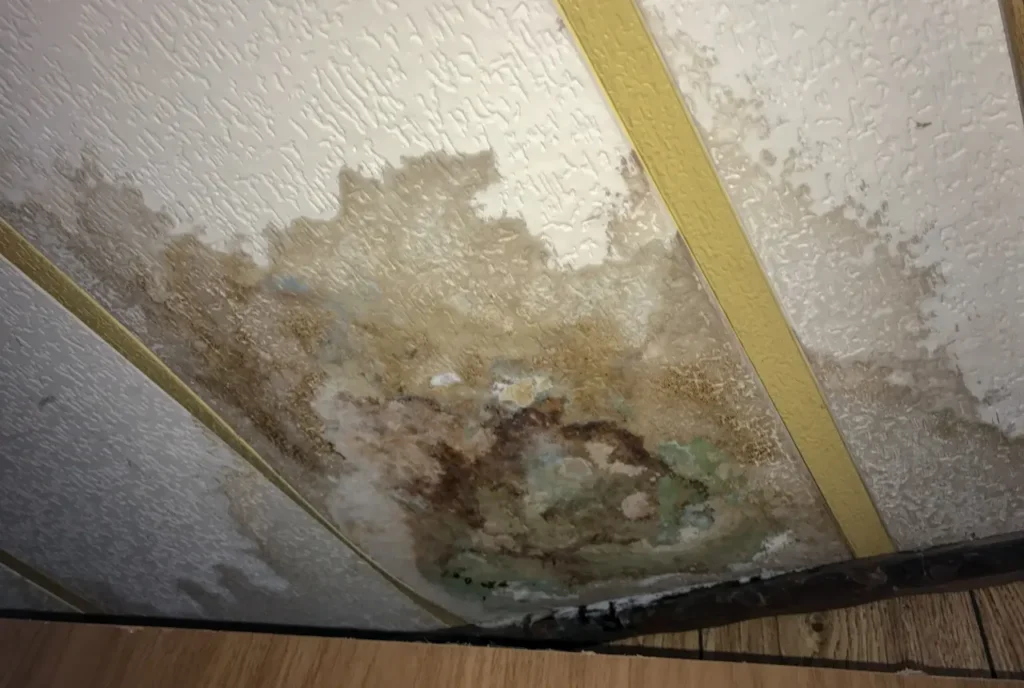
If you see the growth of mold on your roof it becomes urgent to take immediate action. Although almost all types of mold are dangerous for the household, if one can identify what type of mold is growing on the roof it could enhance the removal method by making it more efficient. Mold identification guidance can be obtained from reputable organizations such as the Centres for Disease Control and Prevention (CDC). Nevertheless, safety is the paramount concern when addressing the removal of mold from your roof, irrespective of the specific type.
Here are essential safety precautions to take before, during, and after the cleaning process:
Before Starting:
- Protect yourself: It is essential to wear proper equipment like a respirator that has a mold-specific filter (N95 or higher) which can restrict and minimize the inhalation of spores. In addition, always stay well-protected by wearing gloves, eye protection (goggles or safety glasses), and long pants and sleeves which could minimize your skin contact with the spores of the mold.
- Secure your workspace: Ensure your ladder is stable and securely fastened. Use fall protection equipment like a harness and lifeline to prevent accidents.
- Minimize airborne spores: Try soaking the affected area with a hose before the cleaning process initiates. This not only suppresses the release of mold spores into the opening but also reduces air contamination by reducing exposure.
During Cleaning:
- Continue wearing your protective gear: As advised above always keep pieces of equipment handy like respirators, gloves, and eye protection throughout the cleaning process, this could help you maintain a barrier against the mold spores and poisonous cleaning solution used in the process.
After Cleaning:
- Dispose of contaminated materials properly: Post the cleaning process, there are multiple contaminated materials like shingles or mold-laden debris; hence, they need to be disposed of properly in sealed bags that could prevent the further spread of spore dispersal. After sealed and packed follow the local hazardous waste disposal guidelines so that you can carry on the disposal process with a proper conclusion.
- Clean your tools and gear: Once used, give the tools and equipment used a proper wash down. Make sure to wash the work clothes and tools with a fungicide solution thoroughly, after the washing is complete only then you can consider your work done! But why does it need a proper cleaning conclusion? The answer is simple – to prevent the spread of mold spores to other unaffected areas these steps are crucial to be taken.
Choosing a Mold Removal Method:
Once the above safety precautions are taken and followed properly, you can choose the most suitable method to help remove the mold from your roof. In the following section, we will try exploring various options that could give you the edge to tackle this task of removing mold from the roof.
1. Manual Cleaning with a Mold-Killing Solution
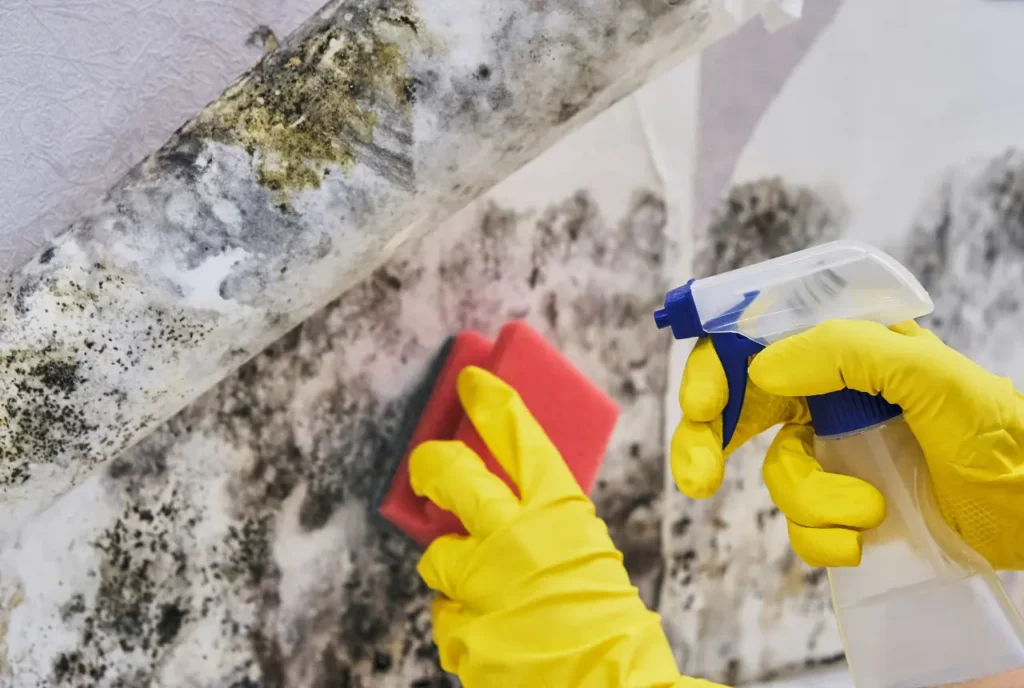
The most effective option to clean up smaller mold growth areas is manually cleaning the zone with a fungicidal solution. This method will give you more control and allow for targeted application. Let us break down the process details:
- Mixing the Solution: While mixing the solution for mold cleaning always consider the manufacturer’s instructions for dilution and mixing ratios. Bleach works but it has its fair share of side effects, therefore always look for non-bleach-based alternatives whenever it is possible. As cautioned before bleach can damage certain roofing materials and is harsh on the surroundings even if it’s effective in killing mold. Go for the opt of fungicidal solutions which are specifically designed for roof cleaning, they are made in a way that they stay gentler and more targeted for the specific purpose of roof cleaning especially for mold removal.
- Applying the Solution: Always use precaution while applying the fungicide by using a pump sprayer or a soft bristle brush so that the mold spores do not get scattered during the cleaning process. Using a pump sprayer will allow for even coverage over larger areas, while a soft bristle brush is always helpful for scrubbing mold patches that are hard to get rid of and stubbornly stuck to the surface.
- Dwelling Time: Give time for the fungicide to settle in, after applying the solution, let it dwell on the area(s) affected as recommended by the manufacturer for the specific time. The simple answer to this process is that it lets the fungicide solution take its time to penetrate and kill the mold spores effectively and properly.
- Thorough Rinsing: After the dwell time has expired, the treated area should be thoroughly rinsed with clean water. Utilize a garden hose with a powerful spray to eliminate the fungicide solution and any mold particles that have become loose.
- Preventing Future Growth: It is essential to ensure that there is proper drainage around and about the roof so that a moisture build-up can be prevented. In the absence of drainage, the residual dampness would work as a hospitable environment for renewed mold growth. Always clean your gutters and outlets at regular intervals by trimming any overhanging trees and overgrown weeds that might block sunlight, intervene in the proper flow of water, and hinder proper ventilation.
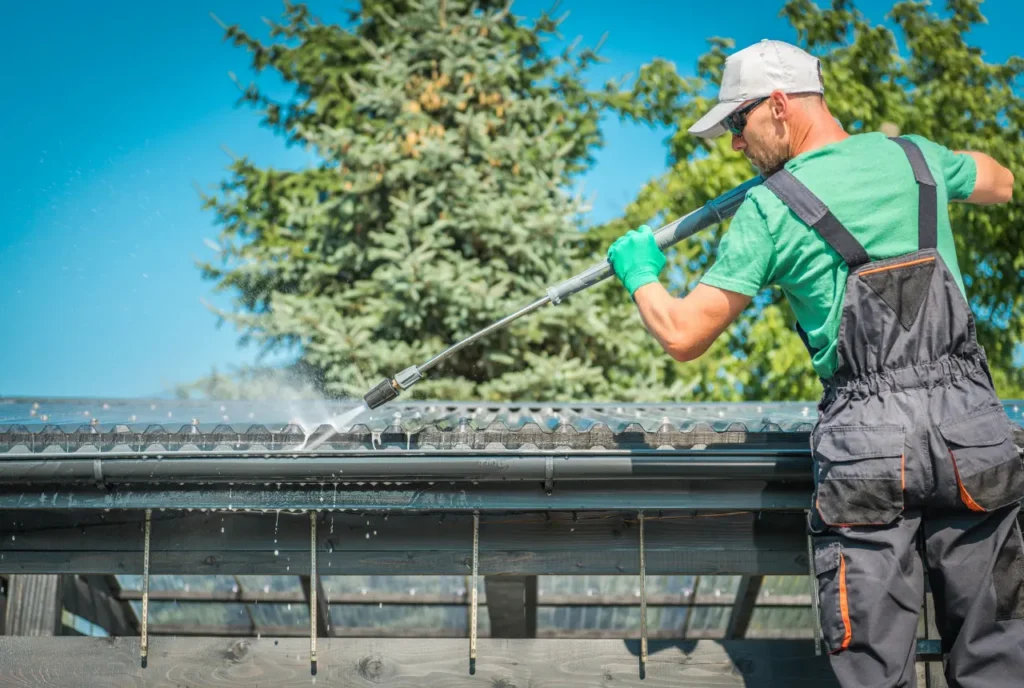
2. Power Washing with a Mold-Killing Solution
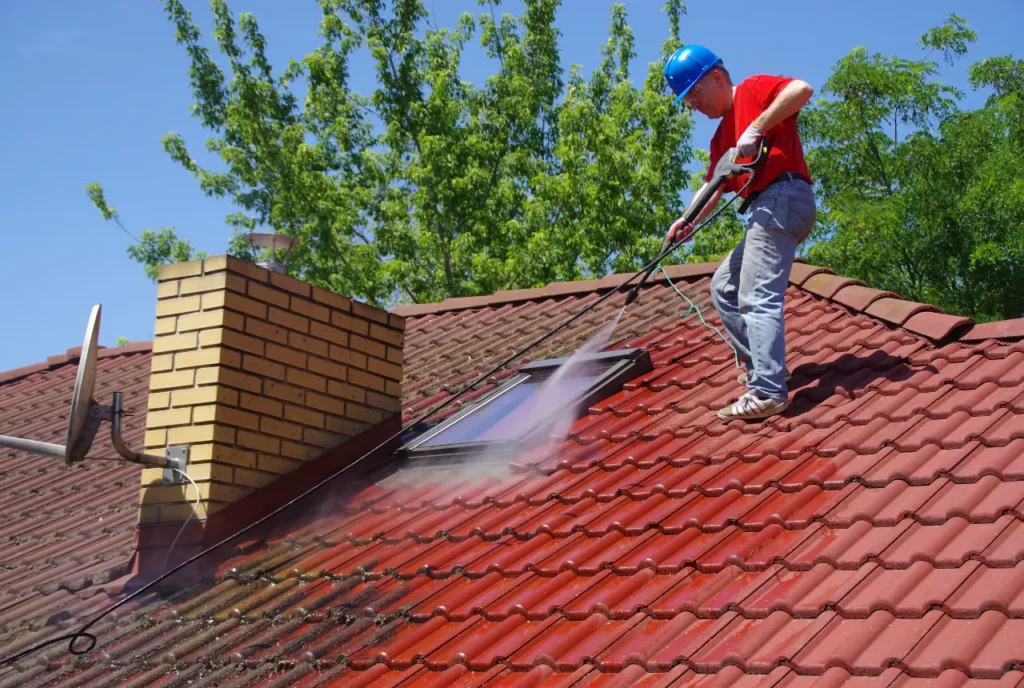
To save time and be efficient, especially for a larger area of mold growth consider power washing the zone with fungicide solutions. Although efficient and time-saving, choosing the right approach is crucial to safeguard your roof from damage.
- Pressure Washer Selection: Different pressure washers are equipped and made for multiple purposes and there is a nation of inequality among the range of options available, always keep this in mind while pressure cleaning your roof so that the cleaning process does not damage the roof. Choose the correct settings and type of equipment for the type right type of roof. When it comes to cleaning asphalt shingles, always avoid the usage of high-pressure settings that can easily rip or damage the th shingle granules. You can easily opt for a pressure washer available with a low-pressure setting that is suitable for delicate surfaces. Always take advice and consultation from experts before engaging in pressure cleaning whenever unsure.
- Mixing the Solution: As with manual cleaning, always follow the manufacturer’s instructions for mixing the fungicidal solution with water.
- Nozzle Selection: Different pressure cleaners are equipped with a range of various nozzles, pick the available one with a fan-shaped nozzle instead of a concentrated jet nozzle. The fan-shaped nozzle provides broader coverage and extensively reduces the risk of damaging the delicate roof with a forceful stream.
- Controlled Application: Apply the fungicide solution in a controlled manner, avoiding overspray onto windows, siding, or landscaping.
- Thorough Rinsing: After applying the solution, thoroughly rinse the treated area with clean water using a low-pressure setting on your power washer.
- Test Patch: Test and plan properly before engaging and tackling the entire length of the roof for cleaning, it is advised that one tests the chosen cleaning method on a small patch, as an inconspicuous area. This will allow you the assurance of compatibility of the fungicide with the type of roof material and identify any potential problems before initiating the full cleaning project of your roof.
3. Using a Commercial Roof Cleaner
Consider the use of commercially available roof cleansers that are specifically engineered for mold removal for a convenient and effective solution. Compared to the use of generic cleaning solutions or DIY concoctions, these cleansers provide numerous benefits.
- Targeted Effectiveness: Multiple commercial roof cleaners are formulated and made to tackle the growth of mold on various roofing materials. They are made with specific ingredients that are highly effective in executing and killing mold spores and preventing their return to the scene. Stay prepared by researching reputable brands that have good reviews, as it can help you find the right product that suits your roof type and the severity of the mold growth.
- Ease of Use: Numerous commercial roof cleansers are pre-mixed or necessitate minimal dilution, which simplifies the process and reduces the time required for preparation. It is essential to adhere to the manufacturer’s application instructions to guarantee the safety and efficacy of the product. These instructions typically entail the application of the cleanser using a soft bristle brush or a pump sprayer, which is comparable to the use of a fungicidal solution.
- Safety Considerations: Although the majority of commercial roof cleansers are designed to be less harsh than bleach, it is crucial to wear respiratory protection, gloves, and eye protection when using them. Additionally, the manufacturer’s instructions will specify any particular safety precautions that must be implemented for the specific product.
- Convenience: In comparison to the process of creating one’s solution, commercial roof cleansers provide a convenient and potentially time-saving alternative. They are frequently effective in controlling moderate mold growth and are an excellent option for householders seeking a safe and easily accessible solution. Nevertheless, professional cleansing services may be a more appropriate solution for severe mold issues or extensive roof areas.
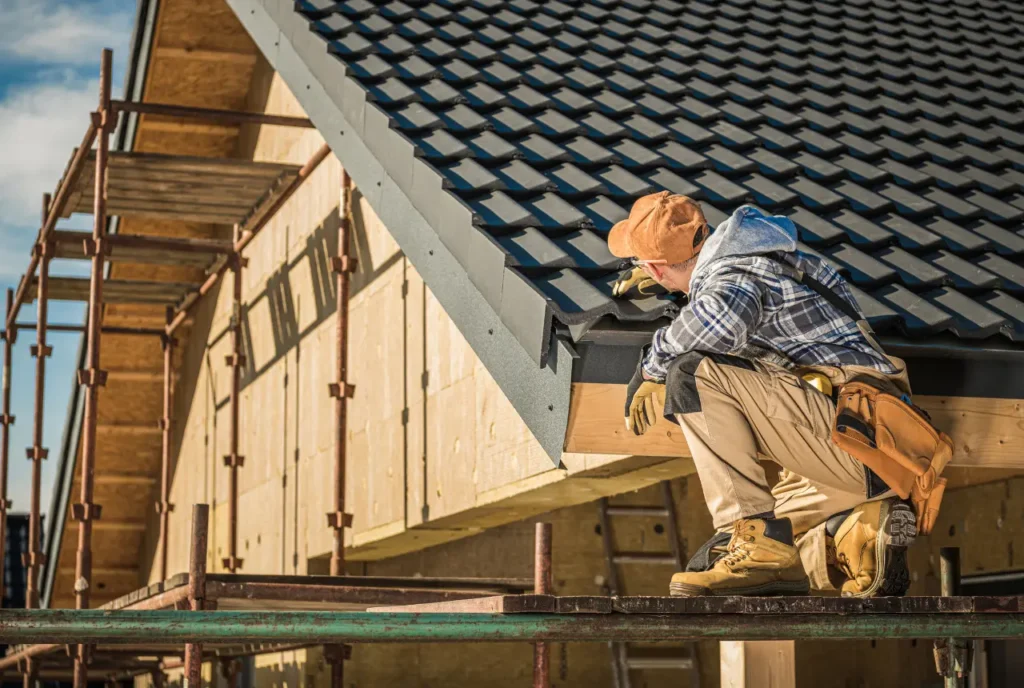
4. Hiring a Professional Roof Cleaning Service
Hiring a professional roof cleaning service provides substantial benefits for those seeking a complete sense of security, difficult roof access, or extensive mold growth. The following are the reasons why it may be beneficial to collaborate with a professional:
- Expertise and Efficiency: Hiring professionals always has its advantages, they possess the knowledge and experience to execute a proper plan to tackle mold removal safely and effectively. They are trained to understand the proper techniques for different roof types and can choose the most appropriate methods & solutions for cleaning that suit the specific situation.
- Specialized Equipment: Equipped with specialized equipment, professionals have access to high-powered, roof-safe pressure washers and advanced cleaning solutions that are a bit tough for homeowners to get their hands on due to the lack of availability. Therefore, hiring a professional ensures a thorough and efficient cleaning process.
- Diagnosing the Root Cause: Professional cleaners are experts in identifying and addressing the underlying cause of mold growth, their expertise goes beyond just mold removal. Their work often involves inspecting ventilation systems to identify issues by addressing proper airflow, checking for roof leaks, or trimming overhanging trees. By addressing these problems they prevent future mold problems and ensure the long-term health of your roof.
- Peace of Mind and Safety: It can be hazardous to clean your roof, particularly at a high altitude. The risk of mishaps and injuries that are associated with DIY roof cleaning is eliminated by hiring professionals. Additionally, the cleansing materials and disposal procedures are managed by professionals, who guarantee that the appropriate safety protocols are implemented throughout the process. This enables you to experience tranquility in the knowledge that the task is executed safely and accurately.
5. Addressing the Underlying Cause of Mold Growth
Damp environments are conducive to the growth of mold. Although it is imperative to eliminate the visible mold, it is equally critical to address the underlying cause of moisture accumulation to prevent its recurrence. The following are several critical areas that require attention:
- Leak Detection and Drainage: Mold growth can often be a telltale sign of a roof leak. Inspect your roof for any cracks, damaged shingles, or missing flashing. Ensure gutters are clean and free of debris to allow for proper drainage of rainwater. If you suspect a leak, prompt repairs are essential to prevent further moisture intrusion.
- Attic Ventilation: Proper ventilation in your attic space helps regulate moisture levels and prevent condensation buildup. Check if your attic has sufficient ventilation through soffit vents and a roof ridge vent. If ventilation seems inadequate, consider installing additional vents to improve air circulation.
- Tree Trimming: Overhanging trees can cast shade on your roof, impeding sunlight and slowing down the drying process. This creates a hospitable environment for mold growth. Regularly trim tree branches that overshadow your roof to allow for better sunlight exposure and air circulation.
By addressing the underlying causes of moisture build-up, you can substantially reduce the risk of future mold problems and ensure the long-term health of your roof. The key to a healthy home environment and a mold-free roof is to take a proactive approach.
6. Preventing Mold Growth on Your Roof
Removing mold from your roof is just one battle won. To prevent its unwelcome return, a proactive approach is key. Here are some strategies to keep your roof mold-free:
- Regular Inspections and Maintenance: Schedule regular roof inspections, ideally twice a year (once in spring and again in fall). This allows for early detection of any potential problems like damaged shingles, clogged gutters, or moss accumulation, which can create a damp environment for mold growth. Perform basic maintenance tasks like clearing debris from gutters and trimming overhanging branches.
- Gutter Guardians: Clogged gutters are a breeding ground for moisture, making your roof more susceptible to mold. Ensure your gutters are clean and free of debris throughout the year. Regularly clear leaves, twigs, and any other materials that might obstruct proper water flow.
- Leak-Free Promise: Promptly address any roof leaks, no matter how minor they may seem. Water intrusion creates the perfect environment for mold spores to thrive. Fixing leaks quickly minimizes moisture build-up and protects your roof’s integrity.
- Ventilation is Key: Proper ventilation in your attic space helps regulate moisture levels and prevent condensation buildup. Ensure your attic has adequate ventilation through soffit vents and a roof ridge vent. If ventilation seems inadequate, consider consulting a professional about installing additional vents to improve air circulation.
- Preventative Measures: Depending on your climate, consider applying preventative algae and moss removers to your roof. Algae and moss growth can trap moisture and create a suitable habitat for mold spores. Using preventative treatments can help keep your roof cleaner and less hospitable to mold.
By adhering to these preventative measures, you can substantially diminish the likelihood of future mold growth and prolong the lifecycle of your roof. Remember, a small amount of effort now can result in significant savings in the form of time, money, and aggravation in the future.
7. When to Call a Roof Replacement Specialist
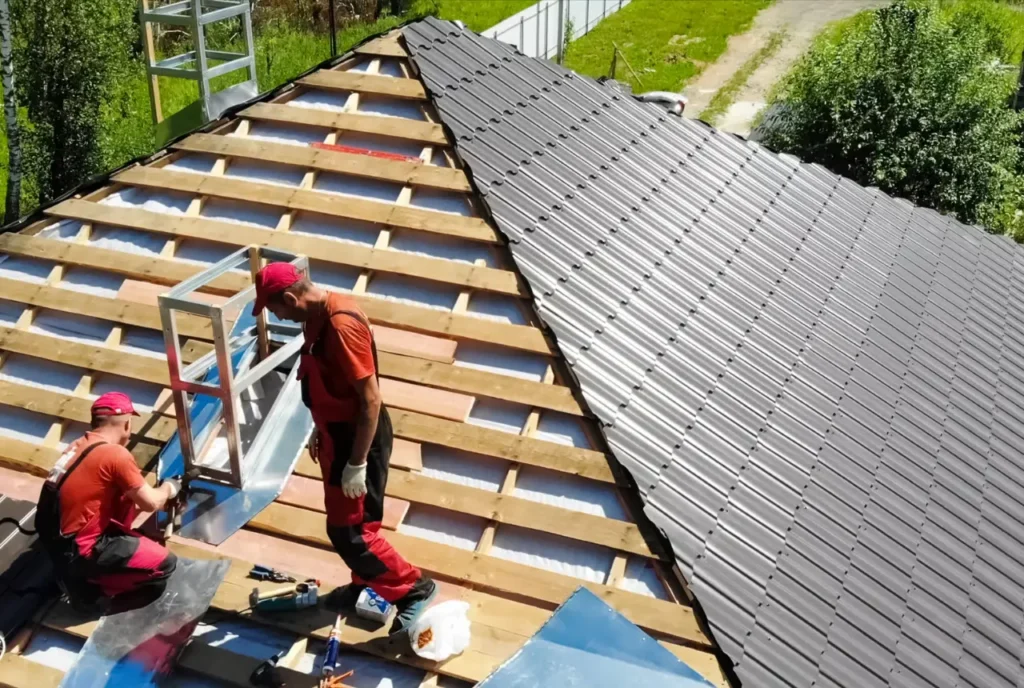
Mold removal is critical; however, more may be needed in certain circumstances. To guarantee the long-term health and safety of your residence, it may be necessary to replace your roof due to extensive mold damage. Please refer to the following warning indications that may necessitate consulting with a roof replacement specialist:
- Deteriorated Shingles: The capacity of your roof shingles to safeguard your home from the elements may be jeopardized if the mold development has resulted in substantial deterioration, such as extensive cracking, curling, or missing shingles. A replacement may be the optimal course of action.
- Structural Concerns: Mold can occasionally cause structural damage by weakening the underlying roof membrane. Signs such as collapsing roof supports or sagging ceilings suggest a severe problem that requires a professional evaluation and, most likely, a roof replacement.
- Widespread Attic Mold: If mold growth is prevalent in your attic, it indicates a substantial moisture issue that may necessitate a more comprehensive solution than simply scrubbing the roof. A professional roof replacement specialist can evaluate the severity of the damage and suggest the most suitable course of action.
Conclusion
Mold growth on your roof shouldn’t be ignored. It can pose a threat to your health and the integrity of your home. Following the methods outlined in this guide, you can promptly and safely tackle mold growth. Remember, prevention is key. Regular maintenance, proper ventilation, and addressing any underlying moisture issues can go a long way in keeping your roof mold-free and ensuring a healthy living environment for you and your family.